
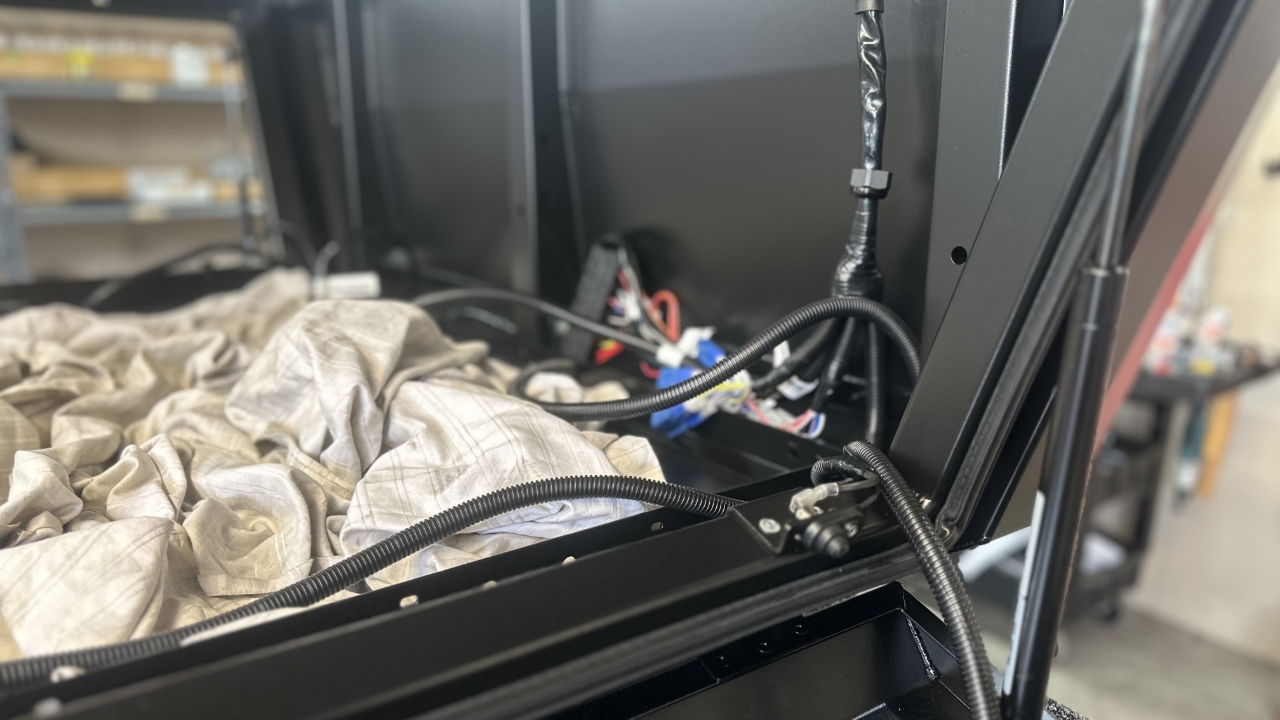
Take your central locking harness (CH03) rear door harness (CH02) actuator patch harness (M2-ACT-H) and actuators out of the bags. Ensure you keep all small parts safe for later use. Take all the tags off the actuators.
Drill a 4.5mm hole through each of the x3 actuator holes.
Take your cable gland housing and fasten the x2 20mm cable glands. Take the gasket and place over the clinch studs. Put your cable gland housing on and fasten with an M6 spring & flat washer and M6 nylocs.
Tighten the nylocs to secure your cable gland housing. Ensure the cable glands are facing the correct way. Take the
Put a small amount of sillicone over each of the pin switch holes. Take sealed aluminium dome head rivets and rivet the pin switch brackets on each door.
Take your rear door harness and start feeding it through the Artemis like so. Take the rubber off the pin switches and cut the blanks off the shown length. Make sure you keep the cut offs as we will use these later.
Take the pin switch and grind the face of it flat so the end of the switch is tidy. Put the rubber back over the pin switch and place a bit of silicone around the bolt hole. Fasten your pin switch to the bracket using M4x12 bolts and nylocs. Ensure you place the terminal on the bolt before securing the nyloc. Now secure the female blade terminal to the pin switch like so. It is important your pin switch looks as shown in the video.
Take the shown end of your central locking harness and feed it through the cable gland closest to the passengers side. Pull a good amount through and feed the shorter length of the harness to the passengers door.
Set up the passengers side pin switch.
Find this gray bigger plug and it will lead you to the loom that goes through to the drivers side. Pull that through the Artemis like so and set up your pin switch. Next, fasten your x6 actuators above each latch using M4x35 button heads and nylocs.
Begin cable tying the harness on the passengers side above and below the pin switch. It is important to leave a bit of slack to make sure the door can open and shut properly without causing any stress on the loom.
Take the actuator patch and feed it through the rear door like so. Plug the left actuator in, making sure you push the white tab on the blue plug in. Plug the right actuator in. Take the green and blue wires from the loom and take one of the plugs and plug them together in the shown orientation.
Take the orange and black wires form the loom and put this white plug over top to blank off these wires. Now join the plug from the patch harness and loom together like so. Pull all the loom back in to the center of the stiffener and and begin cable tying above the actuator. it is important that the loom is pull right away from the latch to ensure it does not get caught in the locking mechanism.
Begin cable tying in the middle of the stiffener to hold all the excess loom. Make sure you keep the orange and grey wires accessible as these will be used for the lights. Now continue to the insert the blue and green wires from the loom into the blue plugs. Now plug these into the actuators.
Begin cable tying the loom to the Artemis while making sure that the split in the housing is facing in so it can't be seen. Also make sure that you flip the cable tie down so the head of the cable tie cant be seen.
Remove the bottom two nylocs from each of the latches to install your lock covers. Put your lock cover and reuse the nylocs as well as a M6x16 zinc button head for the top of the lock cover.
Plug the rear door harness and the loom together. Bunch loom together and cable tie together. Place one of the pin switch blanks in the other cable gland and tighten.
Your passenger and drivers doors should now look like this. Install the rear door lock covers and use the same process from when you installed the drivers and passengers lock covers.
Begin cable tying the rest of the loom to the canopy. Take your lights and the white plug supplied in the loom kit. put it up next to the plug on the light and match the red to the orange and the grey to the white. Use M6x20 zinc button heads to secure your lights. Ensure the touch pad is facing the front of the canopy and the rear light is facing the passengers side.
Insert x2 circular rivets into the canopy for the cable gland cover. Fasten your cable gland cover using x2 zinc M8x20 button heads.
Ensure the loom is cable tied neatly. Your canopy should now be looking like this. Take the end of the loom plug and wrap electrical tape around wires that aren't housed. Using the colour wire chart, plug the correct wire into the correct plug. Your plug should look as shown.
Plug the loom to the test trolley. Push all the pin switches in on the trolley and test the locking of each latch. Ensure that each latch locks and unlocks. Next test all the lights turn on and off by the touch pad and by pushing the pin switch in. Check all these function on each door. Central locking your canopy is now complete.