
Gather all supplied parts and toolss required for installation - You will need:
All OTA Supplied parts (Switch Panel, 2x brackets and 2x M5 bolts)
Trim Removal Tool
3mm Allen Key
10mm Socket (with wrench or driver)

Use the trim tool to remove the two caps on the grab handle

Use the 10mm Socket and Driver to remove the two bolts securing the grab handle.

Remove the grab handle once the bolts have been fully removed.

To run wiring to the panel, we recommend removing the A-pillar panel for easy access. There is one panel clip at the very top of the panel which you can unclip and then lift the panel out.

We recommend running the wiring along the pre-existing harness and route through the A-pillar panel. You will need to align the OTA panel and drill a hole underneath to allow for the wiring and connections to be hidden.

Refit the panel with your wiring and cabling prepped.

Fit the two supplied brackets with the OEM grab handle bolts using the 10mm socket and driver - Ensure they are fitted on the correct sides by having the two mounting tabs facing away from eachother.

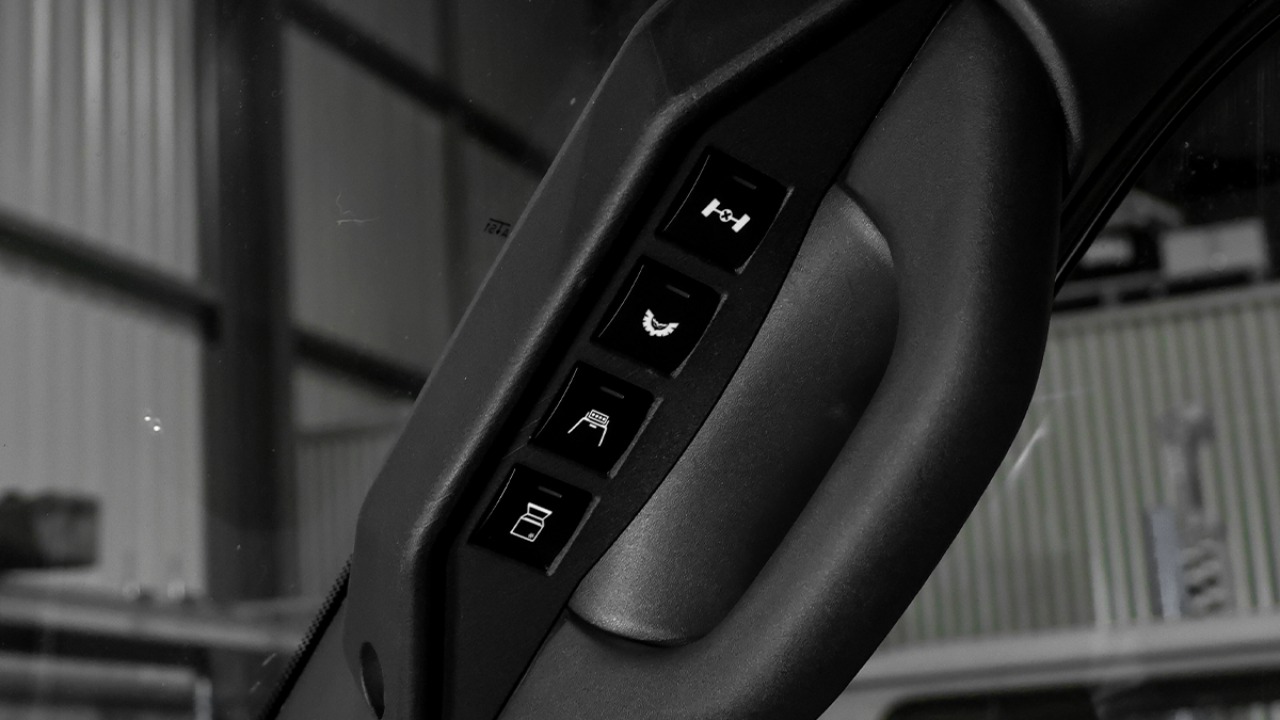
Place the switch panel over and pass the connectors through to then connect them to the 4 switches.

Clip the switches into the panel and fit the panel to the brackets using a 3mm Allen key and the two supplied dome head bolts.

Your OTA 250 Prado Switch Panel is now installed!
Thank you for your support.