
Greenhouse Next G3N Rolling Bench Installation STEP 6 Roll
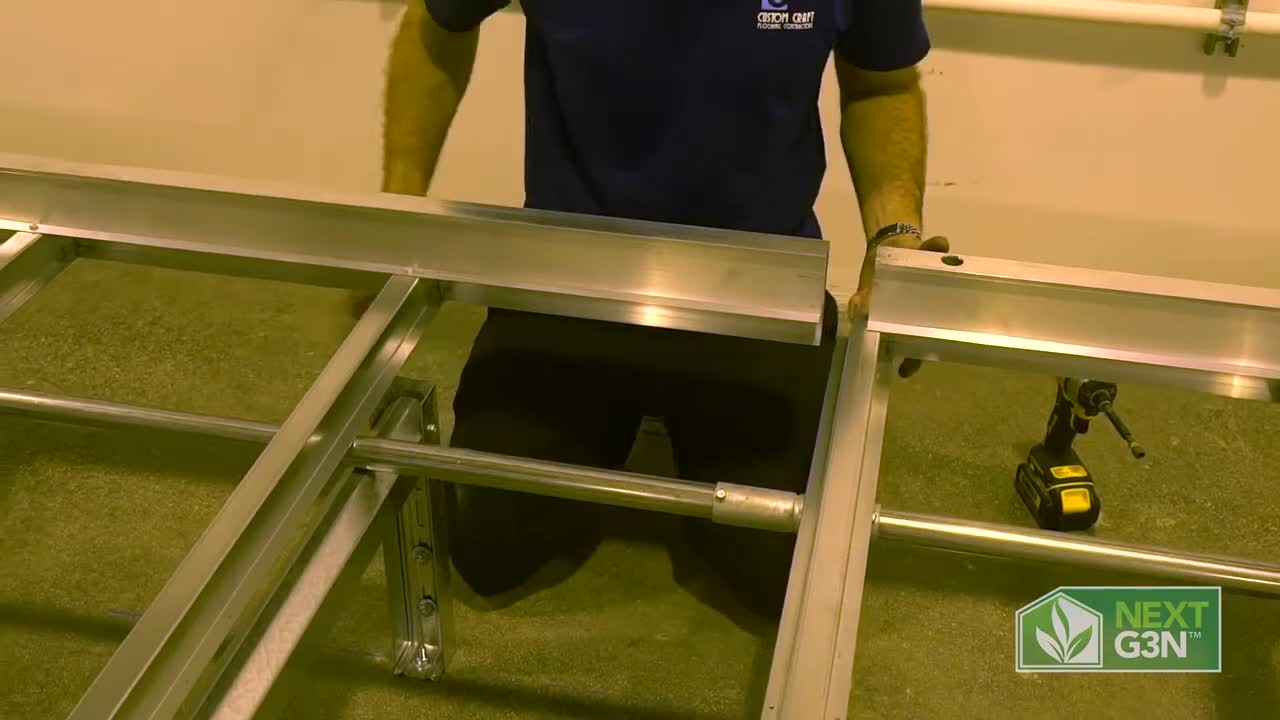
So now we're going to go ahead and put the roll bars on.
So now we're going to go ahead and put the roll bars on.
1
Step 1 of 24The connector sleeves for the roll bars are these little pieces here. You'll find them in your kit.
2
Step 2 of 24Just a galvanized piece. They slide over. Connect the tube.
3
Step 3 of 24Make sure they're butted up tight. These are going to use the 3/8 head self-tapping hardware, one inch.
4
Step 4 of 24When we attach these on your application, it may vary.
5
Step 5 of 24On this particular one, we're outside of our roll bar for our connector sleeves.
6
Step 6 of 24Sometimes this connector sleeve is going to fall right on the roll bar. That's fine.
7
Step 7 of 24We just want to make sure that our hardware stays on the outer edge of this connector sleeve when we put them together.
8
Step 8 of 24We're going to show you how these bars go together. There is a splice that goes into these.
9
Step 9 of 24What that consists of is one more crossbar that is going to join the two along with a small splice piece that will be screwed in.
10
Step 10 of 24We're going to set this crossbar just halfway in. Now it's going to line up with the pre-drilled holes here.
11
Step 11 of 24Using our standard sheet metal screw, we're going to screw this one in.
12
Step 12 of 24This is going to allow us to connect the next section to it.
13
Step 13 of 24Once we have our table tops set, we're just going to slide them together.
14
Step 14 of 24Same thing on this side. We're going to attach the bottom screws.
15
Step 15 of 24Now that we have our table tops on, we've got them aligned with our legs.
16
Step 16 of 24What we're going to do is go ahead and install our anti-tip brackets. The anti-tip brackets are here for that exact reason so that when this is rolled all the way over, this bolt that goes through here will not allow the table to tip.
17
Step 17 of 24What we're going to do is use our, again, standard sheet metal screw.
18
Step 18 of 24Every crossbar has holes pre-drilled. I'm just going to line them up and install them.
19
Step 19 of 24Once the bracket's installed on the crossbar, take a 5/16 bolt, standard nut, and thread these through.
20
Step 20 of 24Squeeze this a little bit to pre-load it and tighten the nut down on there.
21
Step 21 of 24That'll stay like that and won't be an issue. You can see right now that our roll bar and leg is not exactly aligned with our table top.
22
Step 22 of 24Now's a good time. We can slide that slightly and get those nicely aligned so that nothing's going to rub.
23
Step 23 of 24We'll continue on, do the rest of these, and our table's going to be ready to roll.
24
Step 24 of 24Next we'll be doing some trays.