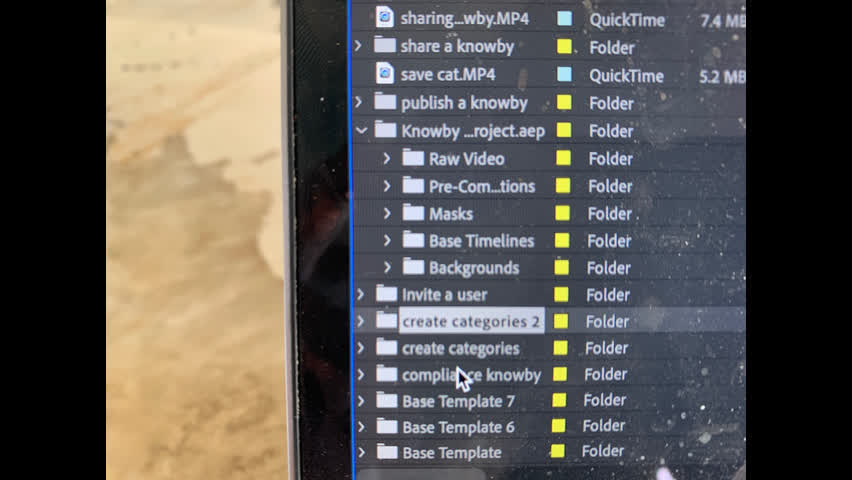
Each project is kept in a file Use command D to duplicate a file so we now have two create categories files. Push return and rename the new file for the next project.
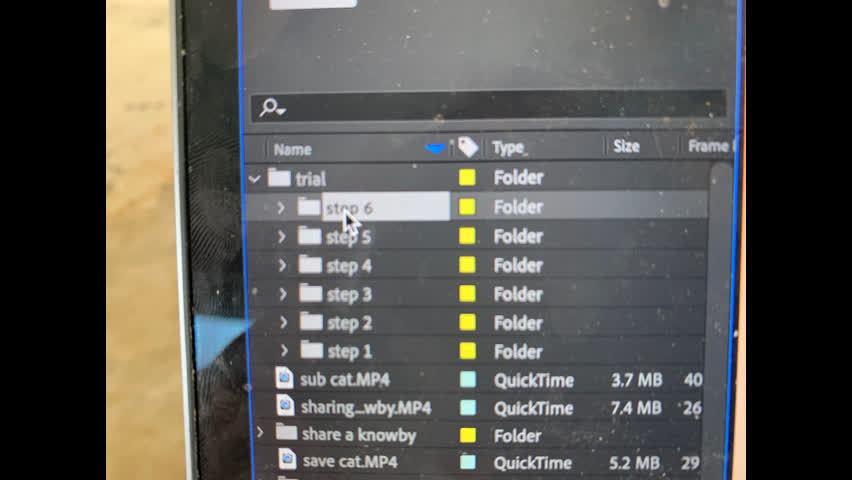
Open the new file and select each step and push delete to remove them until the file is empty.
Now drag the final step timeline down into the working area
Now find copies of the base template and drag them into your empty file. If you run out copy with command D. Hit return on highlighted base template and rename steps. Drag as many bases in as you need steps.
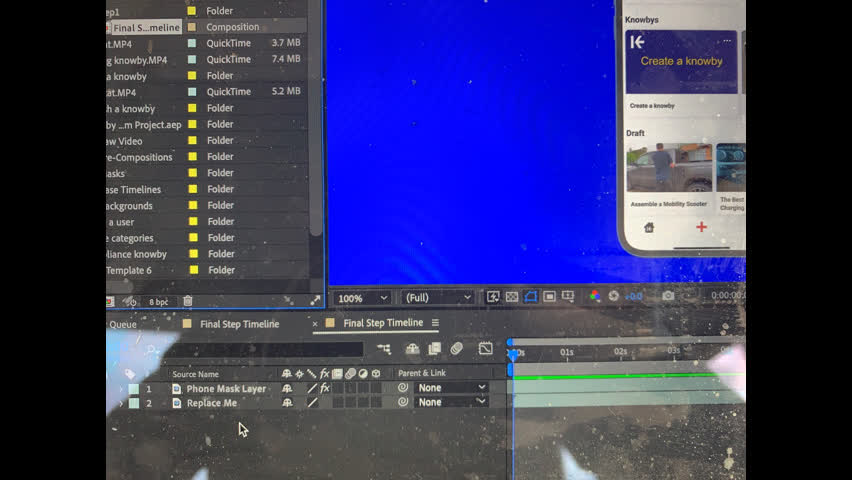
This is made up of a phone mask layer and a replace me layer. Highlight replace me and delete.
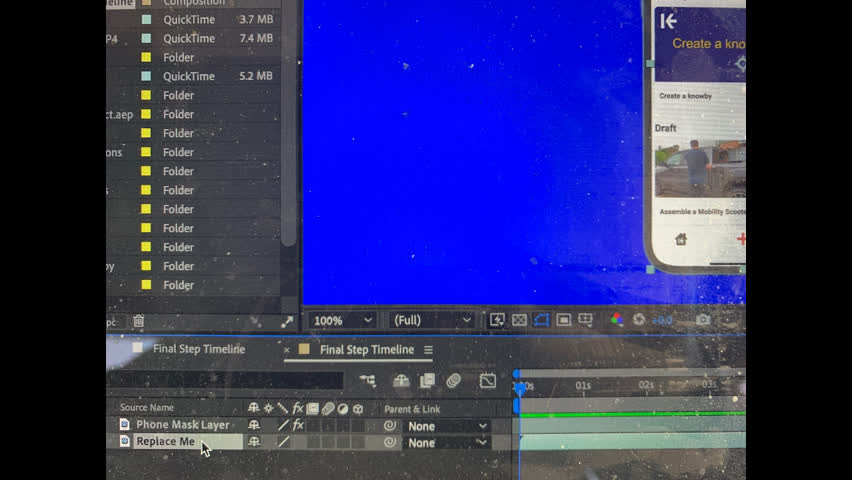
There is a phone mask layer and a replace me one. Highlight the replace me layer and delete it
Drag the raw video you want to the bottom. MAKE SURE your video is slow as you want each step to be 7 seconds. If it’s too long you can cut stuff out.
Open up transform and put 51 in the scale
Right click on the blue background. MAKE SURE you have highlighted the mask layer first! Now effects and key light 1.2
Choose despill bias and move dripper to any blue colour on video and highlight it by double clicking on it. The square beside despell bias will change to blue when you get it right.
Now right click on blue background and choose screen colour. Now double click on the blue screen and it will disappear.
Push the space bar to start and stop the video playing.
To edit video drag the time bar to where you want it to start.
Make sure you highlight the video layer not the mask layer. Command shift D will cut the video.
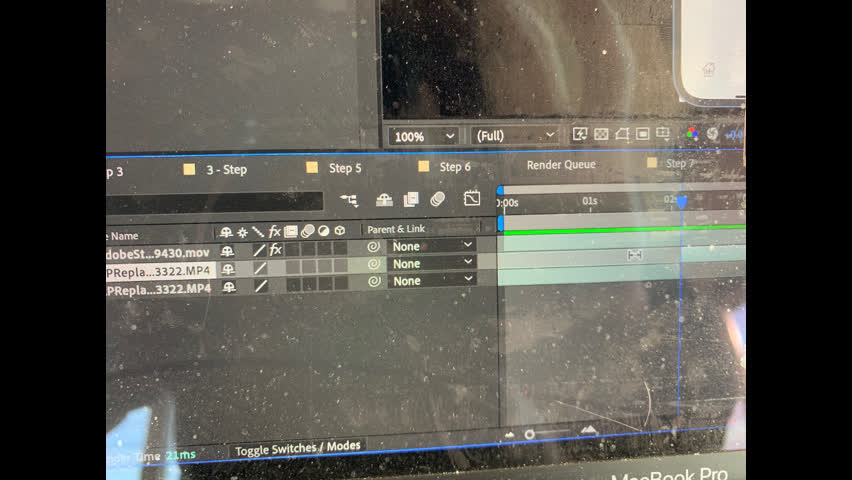
There will now be two video layers. The light area is where the video is.
Highlight the layer you want to cut out and choose delete
Now drag the clip you have left back to the start
You can drag the time bar to the end of the clip you want and repeat as above. Note if you recorded your raw video too quickly your clip won’t be long enough. You’d need to shorten the whole segment.
Joining clips Again find the end of your first clip and command shift D
Now on the video layer containing the rest of the video go to the start of the next bit of clip you want to add. Command shift D
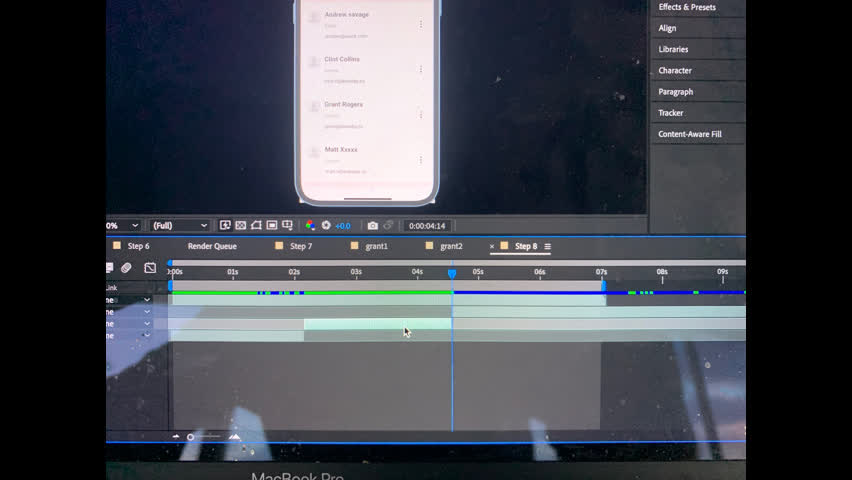
Now highlight the layer you want to cut out and delete it
Now highlight the top layer. Hold down shift and click on the bottom layer so they are all highlighted
Now drag the two clips together.
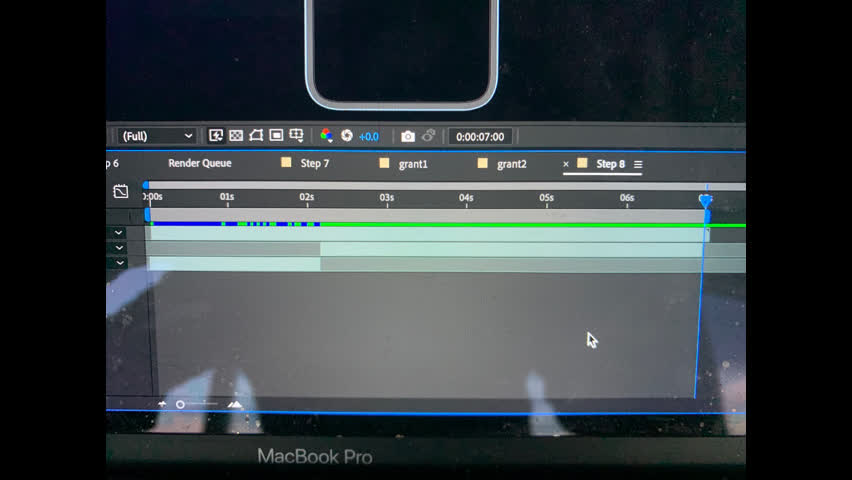
You’ll still need to cut off the end of the video you don’t want
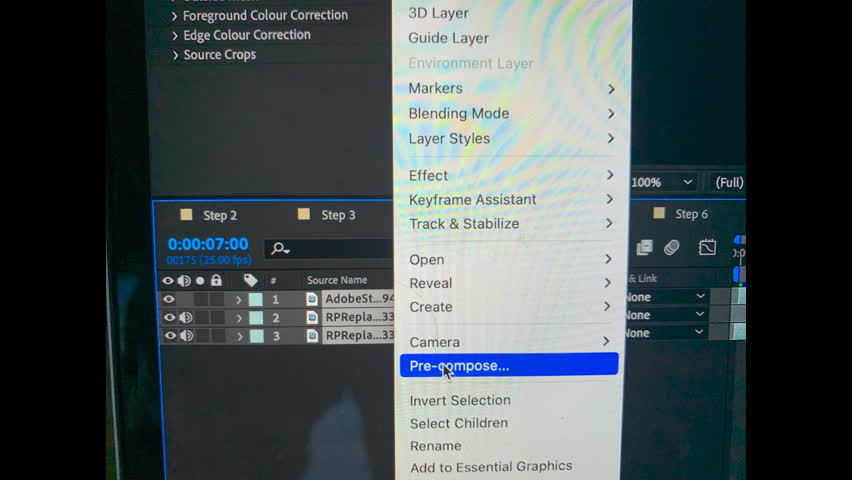
Right click and pre compose
Now pull background to the bottom
Now you’ll see this
To create zoom open up transform
Drag the time line to where you want zoom to start
Click the position and scale time clock
Now drag time to start and make the two diamonds blue by clicking
Now drag time line to where you want the zoom to stabilise
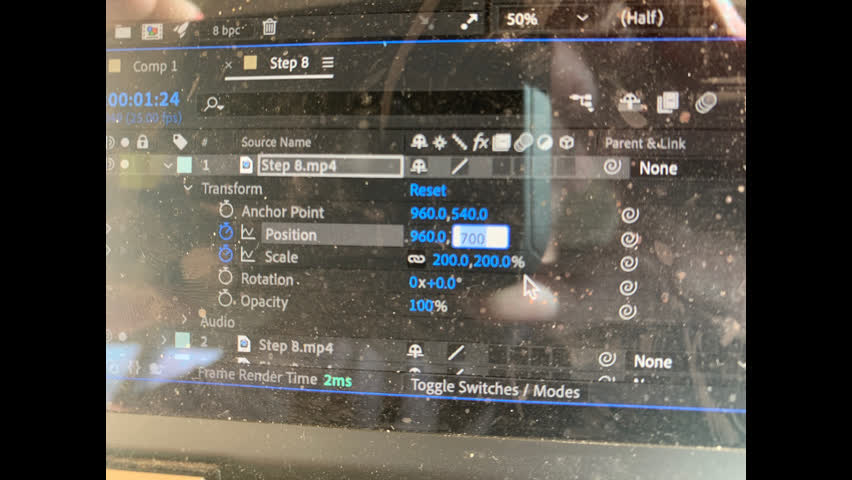
Change the scale to eg 200% and alter the position up and down the screen by changing the second figure in position. A higher number lowers the phone to see the top, a low number raises it to see the bottom.
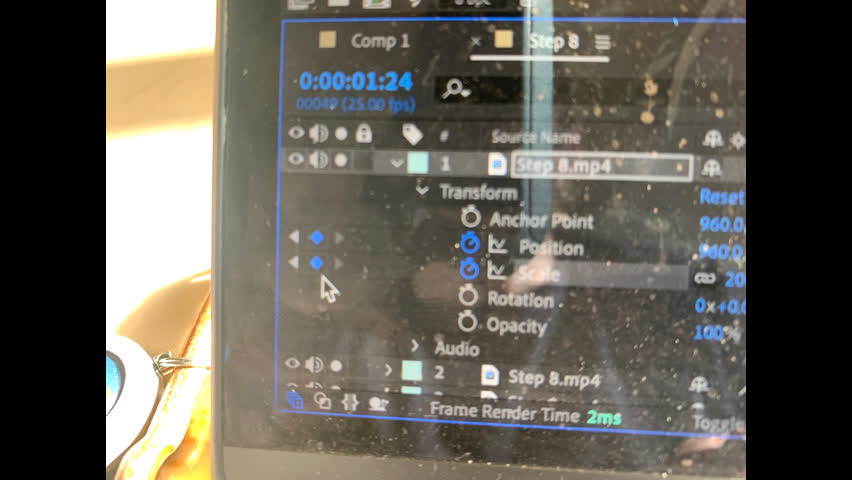
Now again make the two diamonds blue.
Now drag time line to where you want to zoom out again and again make the two diamonds blue.
Now drag time line to where you want zoom out to end. Change values back and make sure diamonds are blue.
Now drag to end of video and make diamonds blue at zoom at levels
Now drag single touch down and to the top layer
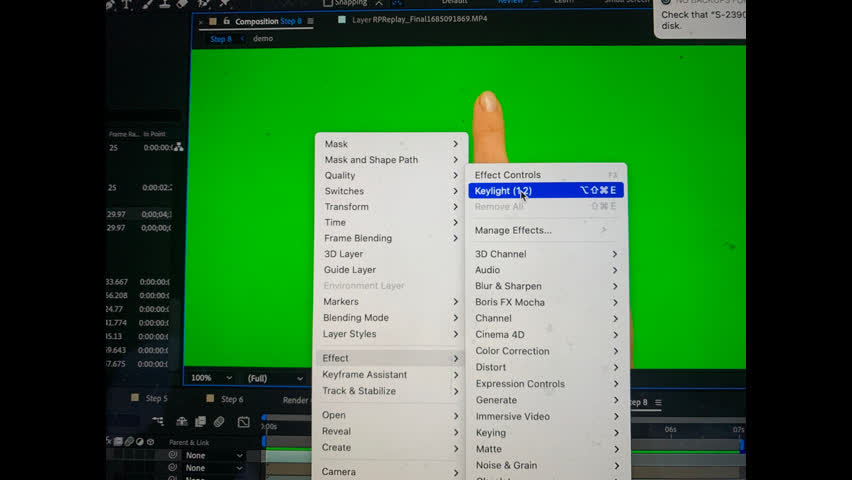
Right click on green. Effects and keylight
Click on screen colour then click dropper on green.
Move finger till you find the exact place where it is the touch
Now drag the hand where you want it You’ll have to move the frame after viewing to get it right.
Add more hands the same way if you need to push more than once in a step
If the hand needs to move faster right click on frame and time, time stretch and change to 50
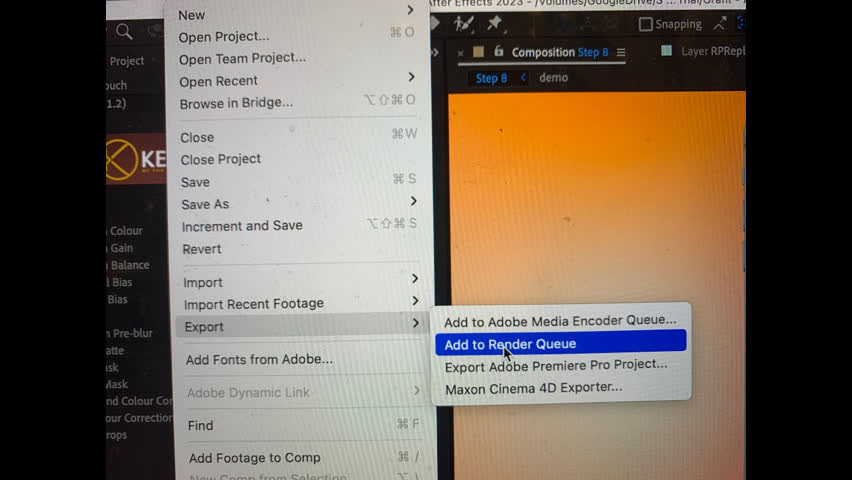
To export to put into Knowby. File, export, add to render queue.
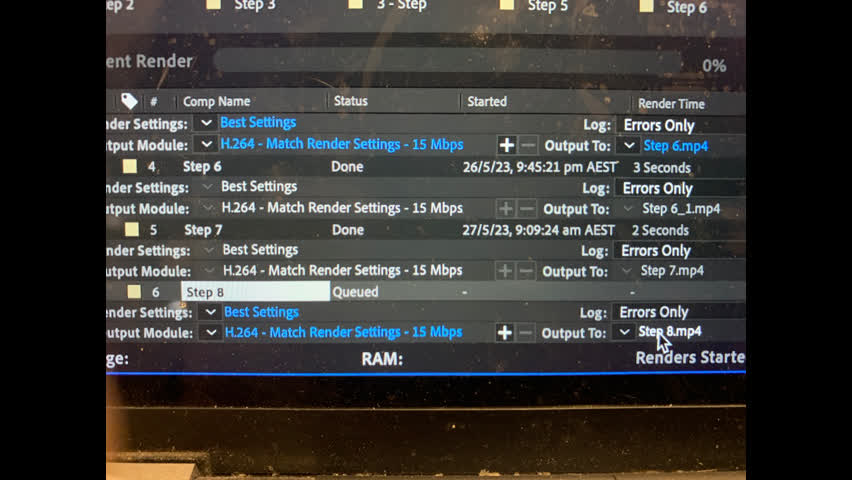
Find the step in the queue you want to export and click on output to
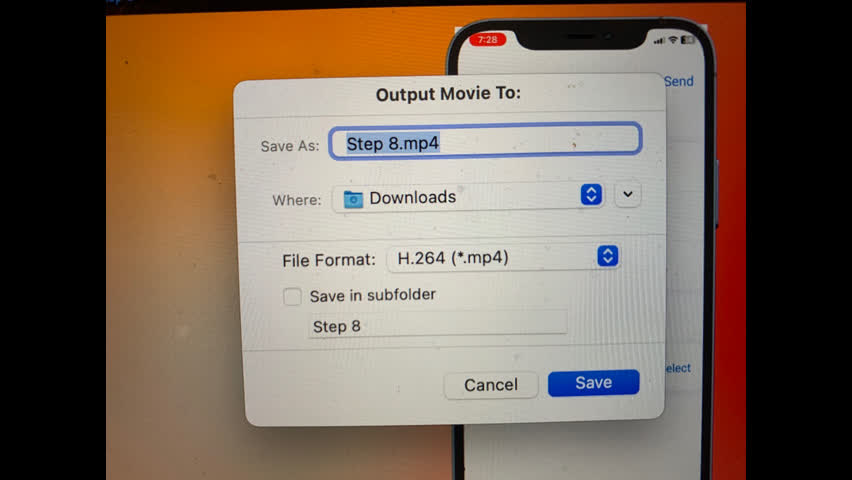
Name it. Save. And click render bottom bottom right.
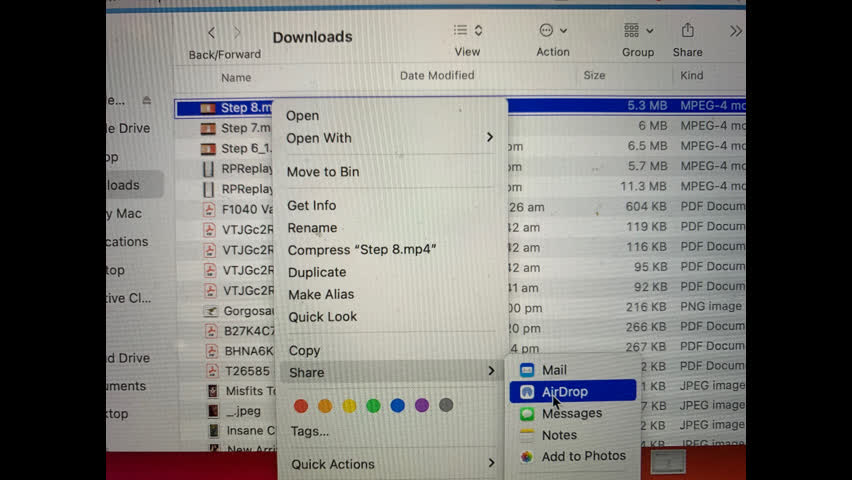
Right click in downloads. Share to airdrop.
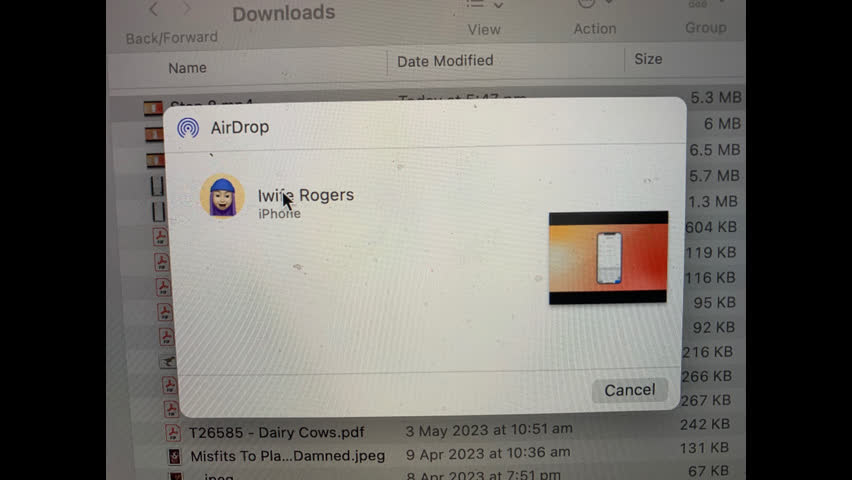
Chose the phone and you’re done!!!