
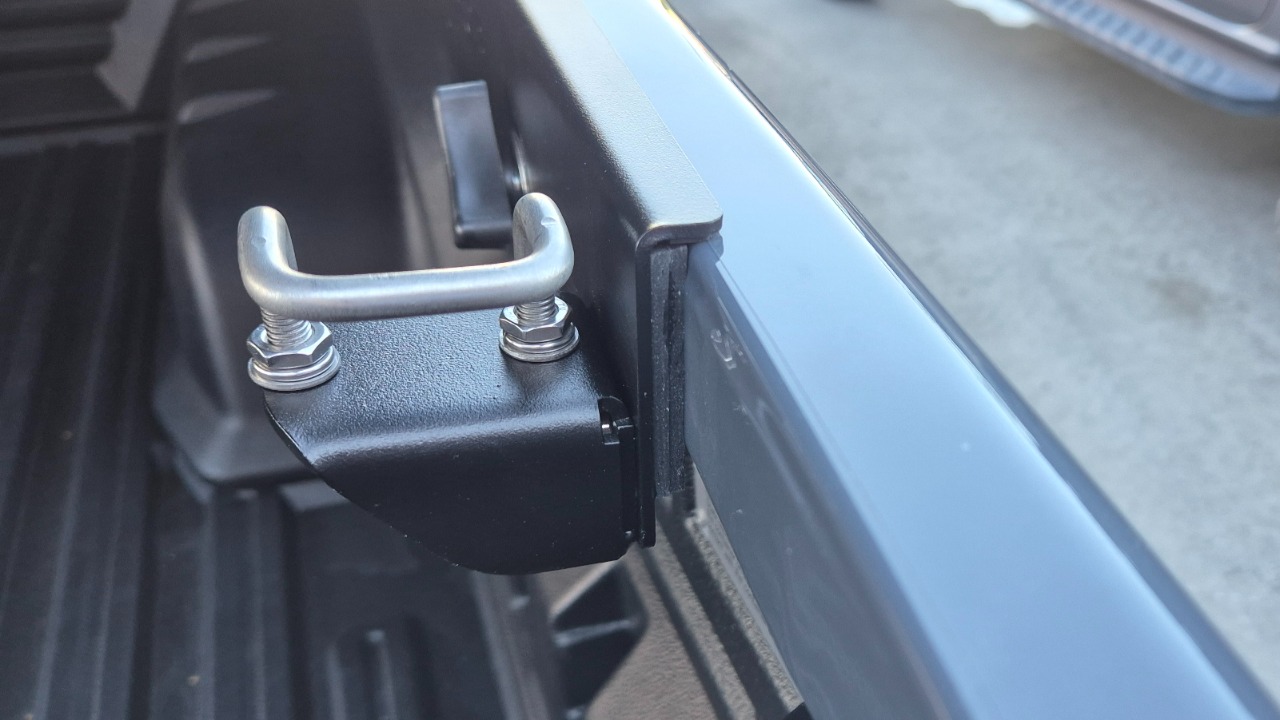

Kit: 4 x 6mm Rubber Spacers
(Made up of 2 x 3mm rubbers)
Remove the Load-Lid from the vehicle by unplugging the central locking in the front left corner, removing the 4 x clamping tabs and lifting the Load-Lid off the vehicle onto a table.

Apply 4 small dots of super glue onto the rubber then quickly proceed to the next step.
Apply the rubber spacer to the very end of the Load-Lid frame taking care not to let the superglue run.
Press and hold the rubber firmly in each corner for 5 seconds.

Apply 4 small dots of super glue onto the rubber then quickly proceed to the next step.
Apply the second rubber near the top of the mounting frame by the rear-most clamping tab slot.
Press and hold the rubber firmly in each corner for 5 seconds.
(frame pictured is upside down)
Check that there is no super glue spillage on the rubbers, if there is, this must be fully removed with a craft knife or the rubber must be removed and replaced.
WARNING: Any super glue left on the visible face of the rubber will damage the vehicle paintwork.

Re-install the Load-Lid to the vehicle by lifting the lid onto the vehicle, aligning the Load-Lid correctly, securing the lid using the 4 clamping tabs, plugging in the central locking.
Retest the electrical and latches once the lid is re-installed.
For full installation instructions, CLICK HERE