
Main components
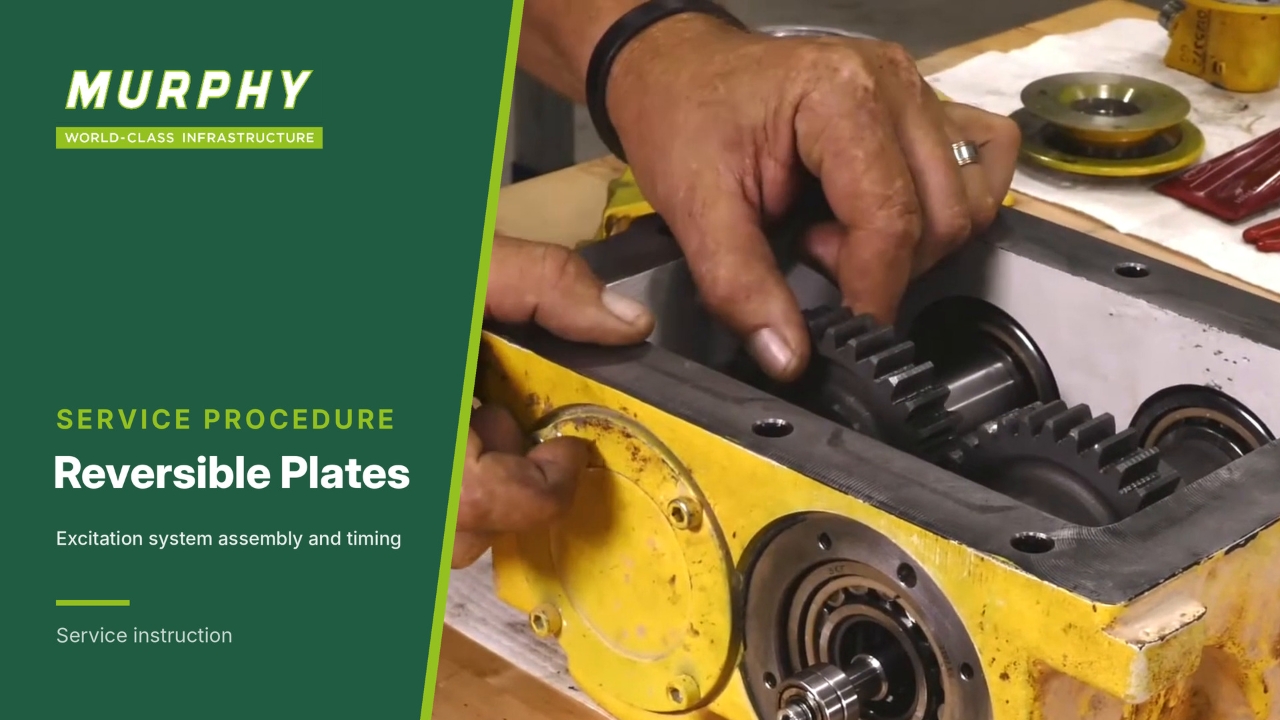
This is the excitation system for a reversible Wacker Neuson plate, shown here on a 2540 plate. The main components are:
tripping pin
helix gear assembly
main driven shaft
piston shaft assembly
Why correct timing matters
If this is assembled incorrectly, the plate will go in reverse when you move the handle forward, and forward when you move the handle in reverse.
It is vital to get this correct. Otherwise you will be dismantling the plate again to time it correctly.
Slip the piston into the shaft and fit the pin
To assemble, slip the piston unit into the driven shaft and drop the pin through.
Insert the shaft into the helix
Continue by assembling the shaft into the helix gear for the correct timing. With the tripping pin fitted, set the shaft in and turn the driven shaft in.
Find the correct timing
The timing is correct when:
the exciter weight bolt holes line up with the timing mark, and
the piston assembly is fully extended.
Recognise incorrect timing
If it is incorrectly timed, the piston will be all the way in. The hole will still line up with the timing mark, but this is not the correct timing.
The piston has to be all the way extended out.
Install the bushing
With the assembly set in the timing position, install the bushing. There is one on either side; only one has to be removed for disassembly.
Fit the bushing, take the assembly to a press and press the bushing in.
Recheck the timing
Once the bushing is installed, the shaft cannot come off. Recheck the timing: the piston is all the way out and the exciter bolt hole lines up with the timing mark.
Place the washers on both sides
Install the two washers: one on the piston side and one on the driven shaft side.
Install the inner bearing races
Install the inner bearing races, one on the piston side and one on the driven side.
Take the whole assembly to a press to press the inner bearing races on.
Check the races
With the inner races pressed on to the driven shaft, check them on either end. The assembly is now ready to install in the exciter housing.
Insert the driven shaft into the housing
It is easier with the piston all the way in. Set the unit down, slide the shaft and it will drop into the housing.
Check the timing marks
Once the shaft is installed, check the timing marks. The timing marks have to be lined up.
Install the bearings into the housing
Once the timing marks are in line, install the bearings on both sides of the driven shaft. Ideally press them in so they are flush with the exciter housing.
They need to be set correctly to obtain end float on the shaft.
Install the plate
With the bearings flush with the housing, install the plate. The plate has a step, so when it is pulled in it pushes the bearing to the correct depth in the housing.
The shafts need end float. They must not be tight against the bearings.
Install the piston
Once the plate is installed with silicone on the back, install the piston. The retaining clip clips on to the back of the piston to hold it in place.
Install the piston housing
Put a light coating of oil on the piston, then install the piston housing and fit the bolts.
Attach the belt guard
Now install the lower belt guard.
Replace the seal whenever this is rebuilt.
Coat it with silicone sealant.
Install the belt guard and torque the bolts to the recommended torque.
Secure the assembly back on the base plate
With the whole assembly completed, end caps on and end float set, put it back on the base plate.
Do not over-silicone the surface
Do not over-silicone this surface. It is a machined surface, and so is the surface on the base plate. Use a very fine smear of silicone.
If too much silicone is applied, it gets down into the bolt holes and you get a false torque when the bolts are tightened.
Refit the belt, hose and oil
Install the belt.
Connect the hose from the handle.
Fill the handle with oil to the recommended mark.
Move the handle back and forth, then start the machine.
Check the oil level
There is no need to bleed this system.
If the oil is up to the level, check it again after running the machine for a few minutes while moving the handle back and forth. The machine will then move correctly forward and back.