

Personal Protective Equipment (PPE). Gloves and Safety Glasses. If you don’t already have a pair of gloves and safety glasses, please see the store worker.

QA Sheet. You will find a QA sheet at the machine, if there is no QA sheet there see the team leader or production. A QA sheet will need to be completed at the start, through out and at the end of the day.
Turn the console to Manual.
Run out the remaining material, [you may need to remove the last piece by hand].
Place the forklift jib on the forklift.

Make sure to attach the safety chain and lock it on.
Place the red corners and sling around the coil.
Place your red corners and sling around the coil.

Make sure that the red corners and sling is centered and make sure that the coil is facing the right way.

Make sure to cut the metal strap before bringing it over to the de-coiler.
Carefully lift the coil out of the coil rack and bring it to the de-coiler.
Using the forklift bring the new coil over the de-coiler. Leave a gap of approx 10cm from the back plate.[this will allow you to remove the Sling and Red cnrs].
Using the hand crank, expand the mandrels on the de-coiler.
Take the red corners and sling off.
Place two blocks of wood in front of the coil and then use the forklift to push the coil to backplate.

Using the angle grinder cut the metal strap (make sure to hold it so it doesnt hit you), then cut the end of the coil into the same shape as the Aluminium template.
Feed the coil into the end of the machine.

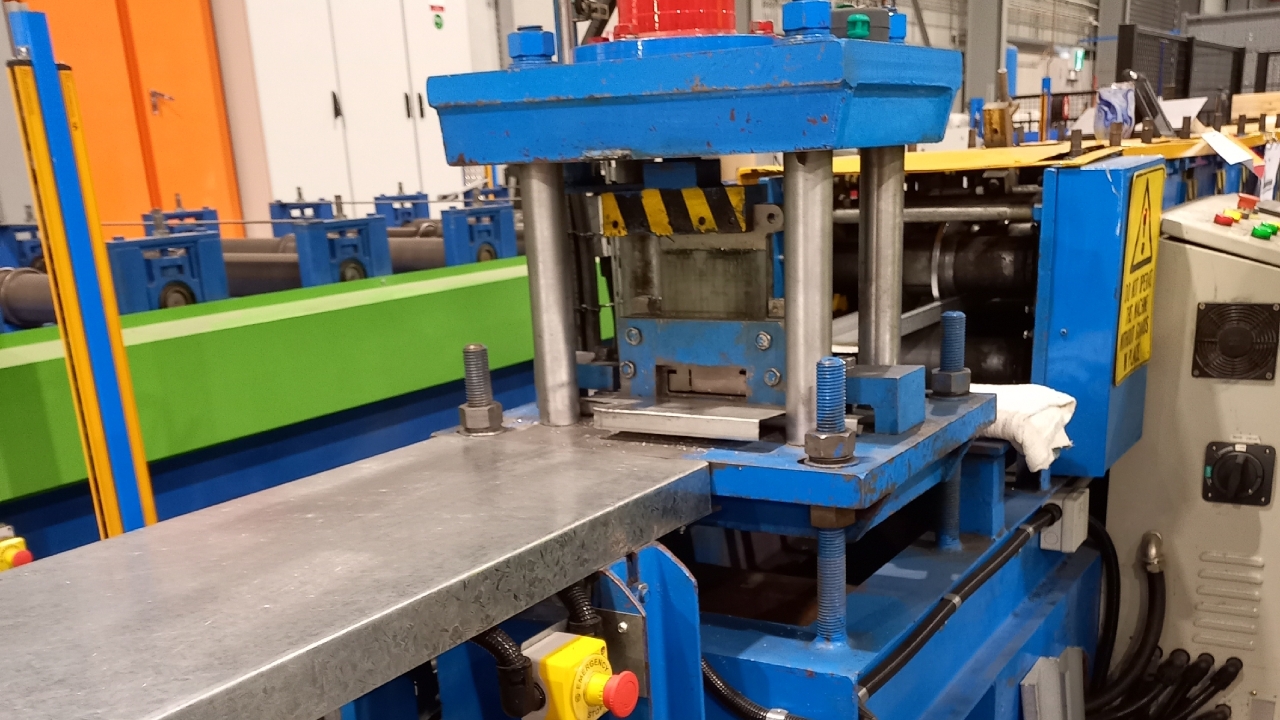
Press the green Running Forward button to jog the coil through the machine.
Stop the coil just before it reaches the guillotine, you will need to guide it through.
Cut the end off by turning the Cutting switch to Down, wait for it to go all the way down before turning the switch to up.
Turn the console back to Auto. Coil is now loaded.