
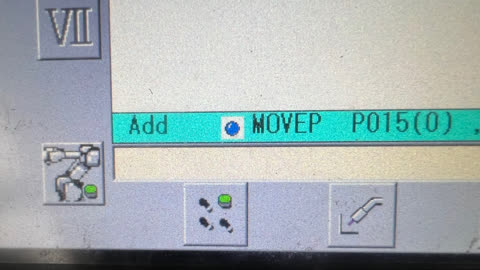

This is the “Add” screen. Top and bottom bars are Aqua in colour. Notice bottom left ot says “Add”

This is the “Change” screen. Top and bottom bars are Blue. Notice bottom left corner is says “Change”

This is the “Delete” screen. Top and bottom bars are Pink. Notice bottom left corner says “Delete”
Squeeze the right hand trigger button

With the right hand trigger squeezed, this button will appear (the icon may be different, depending on which mode you are in, but the button location will be the same)
Toggle between Add/Change/Edit by using your left thumb on the “V” button. make sure you are still holding down the right trigger button
Notice that the colours change for the different modes. Add=Aqua, Change=Blie, Delete=Pink

For this example, we have selected pink, which is delete
Use the right thumb wheel to scroll to the line you want to delete
With the line selected that you want to DELETE, click Enter button with your right thumb. Click it again to select Yes.
The selected line will then be deleted