
DIY Install your Atlantic heat pump boiler yourself with Easykit
A good way to use the overflowing energy of your solar panels in a useful way is with a heat pump boiler.
A good way to use the overflowing energy of your solar panels in a useful way is with a heat pump boiler.
1
Step 1 of 90In the space where you want to place the heat pump boiler, a number of things must be in hand.
Make sure there is a finish and a stop contact. This stop contact must be connected to a 30 mA differential switch for safety.
2
Step 2 of 90Also make sure you have an extra power cable of 3G2.5 for the power steering to your solar panels.
3
Step 3 of 90Finally, water supply in the space is a must. And of course, your water lines must already be placed.
4
Step 4 of 90Before you can start the effective installation, you must make sure that a siphon is mounted on your finish.
5
Step 5 of 90A funnel siphon is the most convenient option here. Make sure that the finish is near your heat pump boiler so that you can get there with your finish.
6
Step 6 of 90Finally, pour some water into the siphon against the smell. This way you will immediately know if all your connections are watertight.
7
Step 7 of 90First check if you have all the necessary material available and study the instruction manual so that you can start in a structured manner.
8
Step 8 of 90An important starting point of your installation is to check which setup is in your case.
9
Step 9 of 90The boiler works according to the principle of a heat pump and must be able to supply and deliver air.
10
Step 10 of 90If the space where you place the boiler is 20 cubic meters large or more, then the device can work with air from the space itself.
11
Step 11 of 90If this is not the case, you will have to supply and deliver air outside.
12
Step 12 of 90Then either one of the two can go outside or both, depending on whether you want your space to cool down.
13
Step 13 of 90On the device itself, the valves for these lines can be modulated so that you can position them in the direction you want to run with your tube.
14
Step 14 of 90You only have to remove the chest groove so that you can adjust the direction to your wish.
15
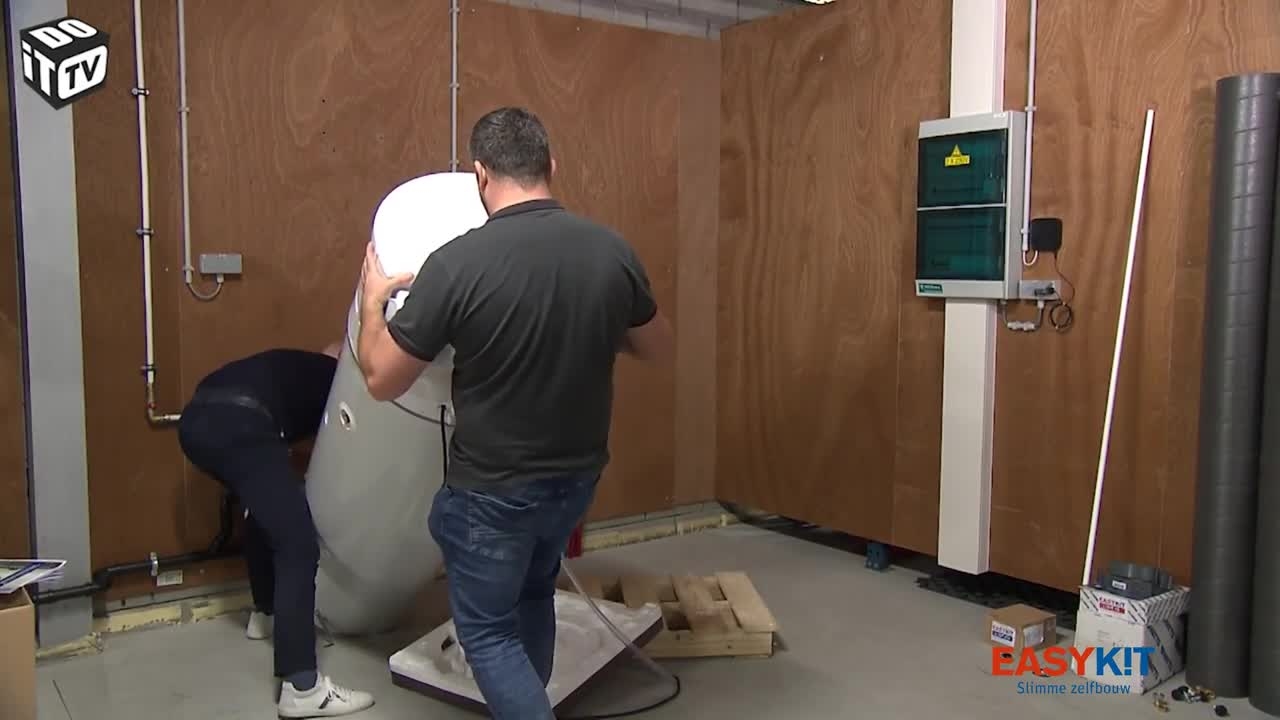
Step 15 of 90If the valves are in the right direction, you can put the boiler in place.
16
Step 16 of 90Be careful and follow the instructions on how to move your device exactly.
17
Step 17 of 90Because just like with a cool cabinet, you must not just flatten this heat pump boiler.
18
Step 18 of 90Measure whether the device is positioned correctly in space, according to the instructions from the manual.
19
Step 19 of 90Then you can install the insulated pipes. Place a water pass at the center of the connection point on your wall.
20
Step 20 of 90This way you can place the mounting brackets and the pipes in a straight line.
21
Step 21 of 90Drill in front so that you can easily install the rings. Then measure how long the piece of pipe should be to reach from your device to your wall or roof.
22
Step 22 of 90Draw this measurement on a number of points on the supplied tube and mark this with tape, so you will definitely cut it straight.
23
Step 23 of 90With a regular cutter you can shorten it afterwards.
24
Step 24 of 90Then slide the pipe into the opening of the device and fix it to the wall with the help of the placed brackets.
25
Step 25 of 90Insert the cut side on the outside so that the right side of the factory is on the device.
26
Step 26 of 90Check thoroughly whether the connection to the ventilation mouth is correct.
27
Step 27 of 90Once you have prepared the exhalation, do the same with the inflator.
28
Step 28 of 90You can easily adjust the position of your tubes to your space.
29
Step 29 of 90By adjusting the mouth on the boiler. Then you can start with the hydraulic connection of the boiler with the help of the supplied kit.
30
Step 30 of 90Start by extending all the parts so that you know what you have in your hands to be able to install it.
31
Step 31 of 90With the supplied kit sheet you can now puzzle the connection together.
32
Step 32 of 90Put the pieces in the right position before you put everything together effectively.
33
Step 33 of 90This will prevent you from making mistakes during the assembly. To ensure a waterproof connection, you have to apply an extra sealant to all screw couplings without sealing rubber.
34
Step 34 of 90The package states how many wraps are needed for a perfect result.
35
Step 35 of 90Put everything together with the necessary attention for a correct connection of all pieces.
36
Step 36 of 90Also on the expansion pad you will attach a sealant to be able to make the connection later.
37
Step 37 of 90But before you do this, you still have to mount the mounting bracket for the container on your wall.
38
Step 38 of 90Position it so that you can get out with your coupling piece compared to your water supply.
39
Step 39 of 90Always use your water supply to work properly. If it is in place, you can make the coupling on your wall and connect the expansion pad to it.
40
Step 40 of 90This pad serves to catch the pressure of your boiler and circuit and is therefore an extra safety.
41
Step 41 of 90If the whole thing is well turned on, you can move on to the next phase of the installation.
42
Step 42 of 90The connection between the boiler and your water supply. Again, you have to prepare the necessary couplings.
43
Step 43 of 90Make sure you do this with the necessary care so that you do not have any leaks.
44
Step 44 of 90The red connection point on your machine itself is where the hot water from the boiler is removed and brought to your hot water collector.
45
Step 45 of 90Mount the dialectical coupling with the supplied sealant, which must be installed.
46
Step 46 of 90The opening next to it should be provided with a stop with supplied rubber sealant.
47
Step 47 of 90You will need it to connect a sanitary pump.
48
Step 48 of 90Your EasyKit advisor will inform you about this if necessary.
49
Step 49 of 90The sanitary cold water connection must take place at the blue opening of your boiler.
50
Step 50 of 90A hole is provided on this coupling for later leaving the boiler.
51
Step 51 of 90It is now necessary to make the connection between the connection point to your expansion pad, your hot pump boiler and your water lines.
52
Step 52 of 90Do this with a few pieces of aluminum pegs with a diameter of 20.
53
Step 53 of 90Depending on your situation, you will have to be able to make them to size.
54
Step 54 of 90You can use a ploy tank set to make the turns without bending in the line.
55
Step 55 of 90Now it's a matter of ploughing, taking care and adjusting.
56
Step 56 of 90You provide such a line between your expansion pad and your cold water supply.
57
Step 57 of 90Always make sure that before you make the clamp coupling, you calibrate the ends.
58
Step 58 of 90This means making a nice round with a calibrator. Only in this way you will get a water-tight connection.
59
Step 59 of 90The next connection you have to make is the one between your expansion pad and the supply on your boiler.
60
Step 60 of 90This is the first time you have to make a clamping connection between the expansion pad and the supply.
61
Step 61 of 90This is the first time you have to make a clamping connection between the expansion pad and the supply.
62
Step 62 of 90This is the first time you have to make a clamping connection between the expansion pad and the supply.
63
Step 63 of 90This is the first time you have to make a clamping connection between the expansion pad and the supply.
64
Step 64 of 90This is the first time you have to make a clamping connection between the expansion pad and the supply.
65
Step 65 of 90This is the first time you have to make a clamping connection between the expansion pad and the supply.
66
Step 66 of 90This is the first time you have to make a clamping connection between the expansion pad and the supply.
67
Step 67 of 90This is the first time you have to make a clamping connection between the expansion pad and the supply.
68
Step 68 of 90This is the first time you have to make a clamping connection between the expansion pad and the supply.
69
Step 69 of 90This is the first time you have to make a clamping connection between the expansion pad and the supply.
70
Step 70 of 90Before you can start the heat pump boiler, you have to mount a plug on the power cable of the machine.
71
Step 71 of 90And you make sure that the smart energy contact of the machine is connected to the cable.
72
Step 72 of 90You only have to remove the cover of the machine, so that you can bring the provided power cable to the connection board via the sparing.
73
Step 73 of 90In the manual you can find out which ports you are using to connect the cable.
74
Step 74 of 90Make sure that this is a 3G2.5 cable, because this contact is controlled with 230 volts.
75
Step 75 of 90This connection with solar panels is not required to be able to use this boiler, it also works fine without it.
76
Step 76 of 90This extra connection will only ensure that the energy left over from your PV panels will heat the water in the boiler.
77
Step 77 of 90This way the overflowing energy is stored in the form of warm water.
78
Step 78 of 90If the cable is correctly connected, you can mount the cover back on the machine.
79
Step 79 of 90The last step before the start-up is to arrange the supply.
80
Step 80 of 90There is a safety group on your expansion pad. You have to connect it to your supply with a flexible, tight guide.
81
Step 81 of 90A piece of aluminum foil from a aluminum package guide is perfectly usable for this purpose.
82
Step 82 of 90And also the condenser supply guide of the boiler itself you make to size and bring to your previously mounted tractor siphon.
83
Step 83 of 90Now you have to fill the boiler. Turn on your cold water supply here. Also put a hot water tap in your home.
84
Step 84 of 90Once the air is out of your lines and a fast jet of water comes out of the tap, you know that your boiler and your circuit are completely deflated and filled with water.
85
Step 85 of 90This is immediately a good test to see if all the connections to your machine are waterproof.
86
Step 86 of 90That way your installation is ready for the start-up. This must be done by a technician from EasyKit.
87
Step 87 of 90He first checks all your connections before he puts the machine into stop-contact.
88
Step 88 of 90He then immediately ensures the right settings and gives you the necessary explanation.
89
Step 89 of 90So that you can enjoy warm water in your home without worrying about the consequences.
90
Step 90 of 90Place your techniques yourself with the help of an EasyKit professional.