
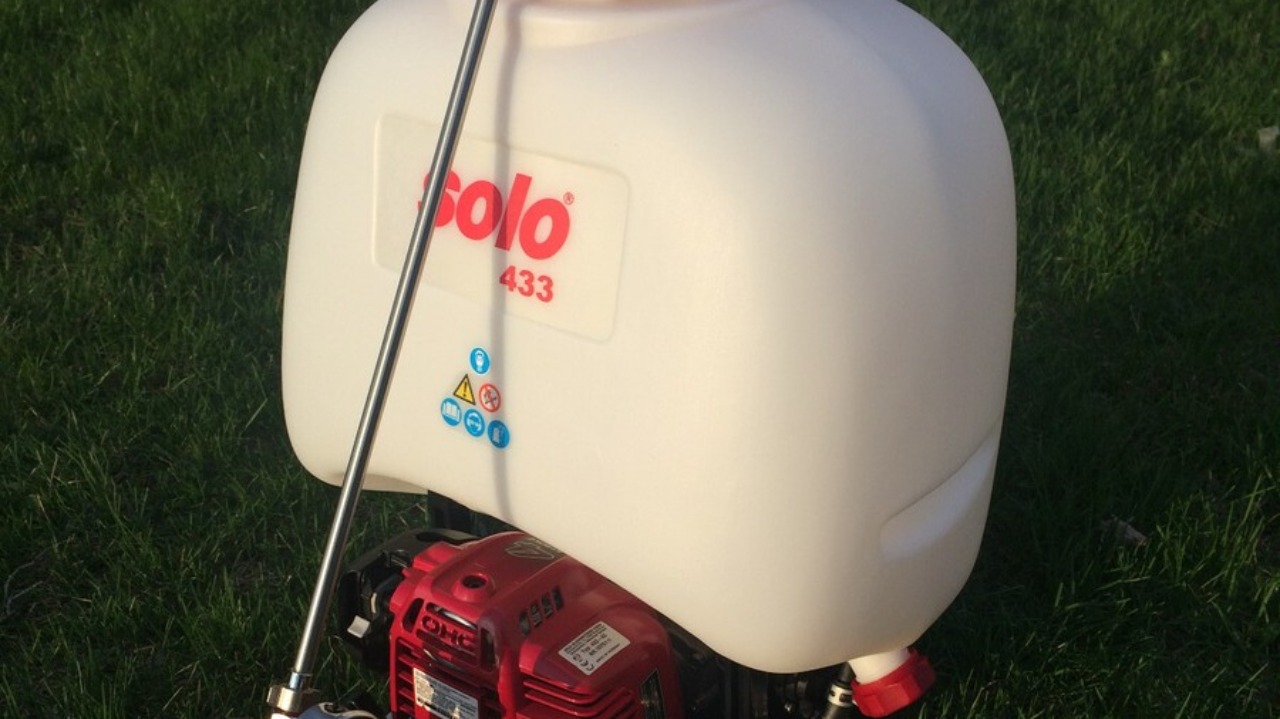

1. Purpose
The purpose of this procedure is to ensure the SOLO 433 Sprayer is maintained in a safe and serviceable condition through routine preventative maintenance.
Regular maintenance improves equipment reliability, extends service life, reduces downtime, and ensures consistent product application.
2. Scope
This procedure applies to all SOLO 433 Sprayers owned or operated by Markham.
Routine maintenance should be completed at the recommended service intervals or whenever equipment performance indicates maintenance is required.
3. Responsibilities
All operators are responsible for:
Performing routine maintenance.
Inspecting the sprayer before use.
Reporting damaged or faulty equipment.
Cleaning equipment after servicing.
Disposing of waste materials responsibly.
Only competent personnel are to carry out maintenance.

4. Personal Protective Equipment (PPE)
The following PPE must be worn while servicing the sprayer:
Safety glasses
Chemical-resistant gloves
Safety footwear
Additional PPE as required by site procedures
6. Routine Maintenance
6.1 Engine Oil Change
Materials Required
10W-30 Four-Stroke Engine Oil
Oil drain container
Clean rags
Funnel (recommended)
Procedure
Step 1
Start the engine and allow it to idle for approximately 3–4 minutes to warm the oil.
Warm oil drains more completely than cold oil.
Step 2
Stop the engine.
Remove the oil filler cap and dipstick.
Wipe the dipstick clean using a clean rag.
Inspect the dipstick for contamination or excessive metal particles.
Step 3
Tilt the sprayer carefully and drain the used oil into an approved waste oil container.
Allow all oil to drain completely.
Clean any spills immediately.
Step 4
Return the sprayer to a level surface.
Using a funnel, fill the engine with fresh 10W-30 four-stroke engine oil through the filler opening.
Fill to the maximum mark shown on the dipstick.
Do not overfill.
Step 5
Reinstall the oil filler cap securely.
Wipe away any spilled oil.
Start the engine briefly and check for leaks.
Step 6
Dispose of waste oil responsibly.
Store used oil in a sealed container until it can be taken to an approved recycling facility.
6.2 Air Filter Cleaning
A clean air filter ensures proper engine performance and reduces fuel consumption.
Materials Required
Warm water
Mild detergent
Clean engine oil
Clean rag
Procedure
Step 1
Release the retaining clip on the air filter housing.
Open the housing and remove the air filter.
Inspect for excessive wear or damage.
Replace if necessary.
Step 2
Wash the foam filter in warm, soapy water.
Gently squeeze the filter until clean.
Do not twist or tear the foam.
Step 3
Remove excess water by squeezing the filter inside a clean dry rag.
Allow the filter to dry completely.
Drying may be accelerated by placing it in direct sunlight for approximately five minutes.
Step 4
Apply approximately 2–3 drops of clean engine oil to the foam filter.
Massage the oil evenly throughout the foam until lightly coated.
The filter should be damp with oil but not dripping.
Step 5
Reinstall the air filter.
Ensure it seats correctly inside the housing.
Close and secure the air filter cover.
6.3 Fuel Filter Replacement
Replace the fuel filter if:
Engine stalls unexpectedly.
Engine repeatedly loses power.
Fuel flow appears restricted.
Routine inspection identifies contamination.
Materials Required
Replacement fuel filter
Approximately 200 mm of light-gauge wire
Pliers
Procedure
Step 1
Using pliers, bend one end of the wire into a small hook.
Step 2
Remove the fuel cap.
Insert the hooked wire into the fuel tank.
Step 3
Hook the fuel hose.
Carefully pull the hose through the filler opening until the fuel filter is accessible.
Take care not to damage the fuel line.
Step 4
Release the retaining clip.
Remove the old fuel filter from the hose.
Inspect the hose for cracking or deterioration.
Replace if required.
Step 5
Install the new fuel filter.
Secure the retaining clip.
Confirm the filter is firmly attached.
Step 6
Return the fuel hose and filter carefully into the fuel tank.
Ensure the hose is not kinked or twisted.
Reinstall the fuel cap securely.
7. Post-Maintenance Inspection
After completing maintenance:
Confirm all covers are secured.
Check oil level.
Check for fuel leaks.
Start the engine.
Allow it to idle.
Confirm smooth engine operation.
Check throttle response.
Ensure there are no abnormal noises or excessive vibration.
8. Housekeeping
Once maintenance has been completed:
Clean all tools.
Wipe down the sprayer.
Store maintenance equipment correctly.
Dispose of waste materials responsibly.
Return the sprayer to its designated storage area.
9. Quality Assurance
Record the following in the equipment maintenance log:
Equipment ID
Date serviced
Maintenance completed
Oil changed (Yes/No)
Air filter cleaned or replaced
Fuel filter replaced (if applicable)
Faults identified
Repairs required
Technician/Operator name
Equipment with unresolved faults must be tagged Out of Service and reported to the Operations Manager before further use.

10. Troubleshooting Guide
Issue
Possible Cause
Corrective Action
11. Important Notes
Always use the recommended engine oil grade.
Never overfill engine oil.
Keep the air filter lightly oiled to maintain filtration efficiency.
Replace damaged fuel hoses immediately.
Dispose of oil and fuel waste through approved recycling facilities.
Never operate the sprayer with missing or damaged guards or covers.
Report any equipment defects immediately and remove unsafe equipment from service.